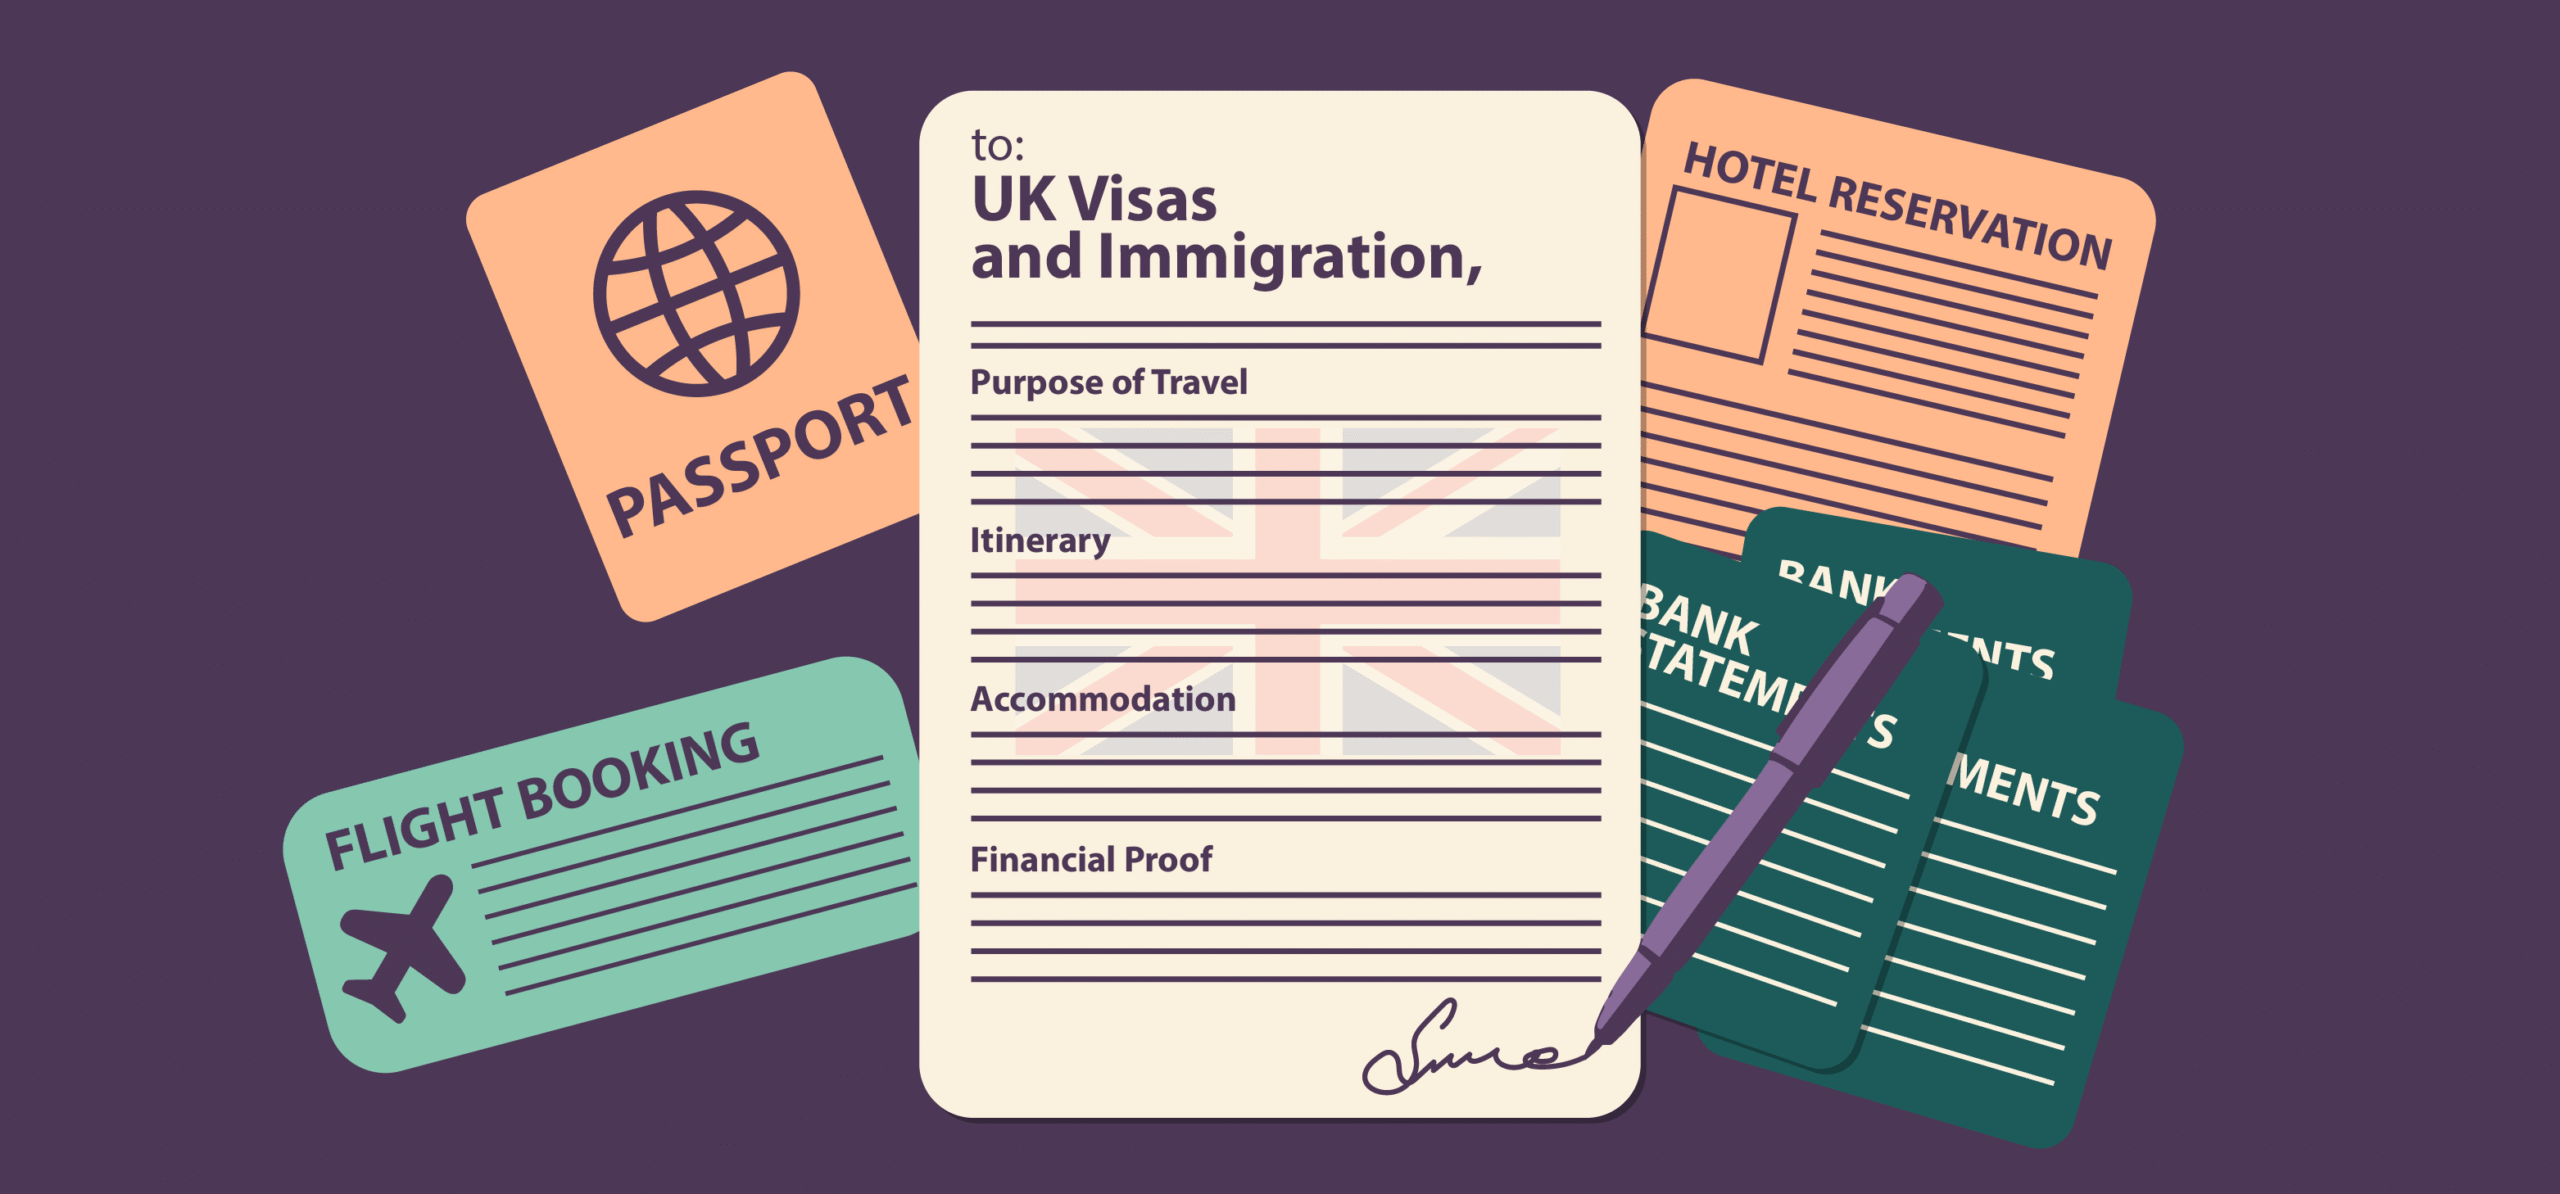
The cover letter is not optional in a UK visa application.
It is the document that sets the tone for everything else.
The visa officer will look at it first to understand your purpose, your background, your financial position, and your ties to your home country.
If this letter is incomplete, vague, or inconsistent with your documents, the application is weakened immediately.
Most refusals come down to the same problems:
- You do not explain the whole purpose of the trip clearly,
- The financial details do not add up. This is a BIG factor
- Or the officer cannot see strong enough reasons for you to return home.
That’s all, there’s nothing more they care about as far as I have observed.
A strong cover letter addresses all of this directly. It gives the officer a full picture, step by step, with every point backed by evidence.
You will still need to submit additional documents such as financial proof, itinerary, and supporting records. The cover letter, however, must establish the strongest possible premise. (For Self-Employed folks, I recommend a special document that you must attach; click here to find out what it is)
I applied for a UK visa and was rejected on my first attempt.
I then reviewed the refusal in detail, identified every reason and loophole, corrected them, and reapplied.
This resulted in approval despite my travel history, young age, and self-employment status.
I want to share everything I have learned about UK visas, including how to write a cover letter that genuinely strengthens your case.
This is how to write one. Let’s begin.
Step 1: Write a Clear and Detailed Itinerary
Your cover letter should open with your travel plan. This tells the officer where you’re going, when, and why.
You must be clear about this. When you clearly explain where you are going, when, and why, it shows you have actually thought this through. It makes you look serious, prepared, and intentional, not like someone throwing in a random application to see what happens.
Start with your dates, the cities you’ll visit, and your hotel bookings. I made sure I had included landscapes that I wanted to photograph, hikes that matched my profile, hidden gems that I found from my research, and, as the first time visitors, main highlights like Big Ben.
Then add a short outline of the main activities or landmarks in each place. Keep it realistic so that the officer can see a trip that’s planned, not a fantasy schedule.
Once you write it, attach the proof, such as
- Every city you plan on visiting, and specific places that you wish to discover in those cities
- All day-to-day activities with a detailed timeline
- Commute details if you’re planning on going from North-South, East-West
- Justification of long stay in one specific location
- Flight tickets
- Hotel bookings (If you’re staying in a different accommodation type, mention details)
- Tickets to major sightseeing spots, especially places that require advance booking and are extremely popular.
- and any pre-booked activities.
Note that it is always a good idea to pay in advance only for activities that offer free refunds, in case your visa application is rejected.
Weak Example (What Not to Do)
“I am visiting the UK for tourism. I will spend some days in London and then go to Scotland. I want to see famous places and enjoy my time there.”
Why it’s weak:
- No dates
- No hotel names
- No specific landmarks or activities
- No connection to documents
This tells the officer nothing. It looks vague and unserious. Your aim is to give them as much information as possible so that they don’t have to guess anything.
Strong Example (What Worked for me)
“From 20 to 23 April, I will stay at Bedford Hotel in London. During this time, I will visit Westminster, Tower Bridge, and the Royal Parks, and spend evenings along the Thames for photography. From 23 to 26 April, I will stay at Dakota Edinburgh, where I plan to visit the Scottish Highlands, Edinburgh Castle, the Royal Mile, and South Queensferry for sunset photography. Confirmed hotel bookings and flight reservations are attached.”
Why it works:
- Exact dates match the flight bookings
- Hotel names match the booking confirmations
- Activities are realistic and specific
- Mentions attached proof
This version shows planning, clarity, and evidence. The officer can read your itinerary and immediately check your documents to confirm it.
It doesn’t have to be complex or too long; all it needs to do is explain every step of your trip and help them understand how you plan on moving once you enter the UK.
Step 2: Present Your Professional Background Clearly
Your cover letter needs to show the officer that you are established in your home country. This is one of the strongest reasons they have to trust that you will return after your trip.
The way you write about your professional background is where you prove that stability.
The first time I applied, I barely explained this. I casually mentioned that I run a business and assumed the documents would fill in the gaps.
Well, that didn’t work at all.
The officer doesn’t have the time or incentive to figure things out for you. If you don’t spell it out properly in the letter, it simply gets missed.
Here’s how to do it properly:
Start by writing your current role in detail. If you are employed, mention your title, your company, how long you’ve been there, and your current salary.
If you run a business, write the company name, its registration details, when you started it, and what it does. (Don’t forget to then attach business registration documents.)
In my second cover letter, I didn’t just write “I manage Squeeze Growth LLP.”
I added that it was registered, that I founded it in 2022, and that it operates multiple websites read globally in business, tech, and travel. That painted a much fuller picture. I listed my active website links as well.
Once you’ve written this, connect it to your proof. If you’re employed, reference your payslips, employment contract, or HR letter. Mention your office contact details and make sure you give them your HR’s contact information as well.
If you run a business, reference your business bank statements, tax filings, and registration papers. Don’t just say, “I have a stable income.”
Always ensure you give them all current bank account statements and business financial documents.
Say, “I manage a company registered under number X, and my income is supported by the attached bank statements and tax returns.”
That direct link between your words and the documents makes your application strong.
Also, use this part of the letter to show that your professional life ties you to your home country. If you’re an employee, it’s the security of a long-term role.
If you’re self-employed, it’s the fact that your business relies on you and cannot run without you.
For me, I explained that I lead a team, manage ongoing client projects, and oversee multiple platforms. That made it clear I wasn’t about to abandon all of that for a one-week trip.
The officer’s main question here is simple:
Do you have a strong professional base that requires you to return?
Your cover letter must answer that with precision and proof.
Step 3: Show Your Finances Clearly
Your finances are the single most important part of your UK visa cover letter.
The officer will spend the most time here, because this is where they decide if you can afford the trip and if your life is financially stable enough for you to return.
A sloppy explanation, vague numbers, or mismatched documents will almost guarantee trouble. Just like in my first case.
This is how you need to write this section.
Start by laying out your trip budget. Keep it specific, realistic, and in GBP.
Don’t write “I have enough money for the trip.” That means nothing.
Write something like: “I have allocated GBP 1,700 for my seven-day visit, which will cover flights, accommodation, food, transport, and daily expenses.”
This shows that you’ve thought it through and aren’t guessing. The officer can see that your planned expenses line up with your length of stay. Be mindful of your budget and don’t throw random numbers, it should add up later when the visa officer reviews your income, tax and savings documents.
Also, always account for the current price and time of the year when mentioning your budget.
The budget should be based on real, current prices. Hotel rates and flight fares change a lot depending on the time of year.
For example, if you are visiting the UK aroundthe New Year, prices are much higher than usual. Flights are expensive, hotels charge peak season rates, and even daily expenses tend to increase. If you mention a modest budget without considering these inflated prices, the numbers will not match reality.
Next, show your available funds.
State the balance in your savings account and connect it directly to your attached bank statements. If you hold investments, write their approximate value and back them up with official records. Stock holding, mutual funds, fixed deposits – whatever you have.
If you earn regular income, highlight it and explain where it appears in your bank statements or payslips.
For example, in my cover letter, I wrote: “My personal savings of GBP X, XXX and investments worth approximately GBP XXXX are available to fund this trip. These amounts are reflected in the attached bank and investment statements.”
When the officer read those lines, they could turn to the documents and see the exact same numbers.
If you’re self-employed, you must also include your business finances. The current bank account statements are a must.
This is where many applicants fail, including me on my first try.
I submitted my personal accounts but left out my business account. That created doubt and led to a refusal.
The second time, I wrote: “In addition to my personal funds, I have attached business current account statements and tax filings for Squeeze Growth LLP, which demonstrate consistent income and ongoing operations.”
If you’re salaried, the equivalent is attaching payslips and showing salary credits in your account. Whatever your source of income, make sure it’s visible in both the cover letter and the documents.
Also, don’t just show static balances. The officer wants to see stability.
If your savings account has a healthy balance, but there’s no movement in or out for months, it looks suspicious. They want to see how much you make vs how much you spend.
Use the cover letter to point out your regular income streams and then let the statements confirm them.
For example: “My account reflects monthly income from my business operations, supported by client contracts and recurring partnerships.” This shows you’re not just sitting on a lump sum — you have an active financial life.
Finally, match everything line by line.
If you write it in your cover letter, it must appear in your documents. If you attach it to your documents, it should be referenced in your cover letter.
Even a small mismatch, such as a different balance, an unexplained deposit, or a figure that doesn’t align, can raise a red flag.
So structure everything like this:
Start with your budget. What do you spend each month? Rent, food, bills, whatever.
Then show your savings and investments. This proves you’re not living paycheck to paycheck.
Then explain where the money comes from. Your job, your business, whatever it is. Make it clear and easy to follow.
And here’s the key bit: attach proof for everything. Bank statements, payslips, whatever backs up what you’re saying.
This is the exact way I did it in mine.
Step 4: Prove Your Family and Home Ties
Now this is where it gets a little tricky.
Let’s be real for a second.
It’s incredibly easy for them to say, “Yeah, we don’t think you’re coming back.”
And honestly, can you blame them?
You’re applying from a third-world country to enter the UK, which is a developed, resource-rich place where tons of people try to immigrate every single day.
Of course they’re going to be suspicious. That’s literally their job.
They’ve seen it a thousand times: someone gets a visa, flies in, and never leaves.
So when your application lands on their desk, that’s the lens they’re looking through.
“Will this person actually return home, or are they just saying that?”
This is the section where many applications fail.
Finances show you can afford to travel, but family and home ties are what convince the officer that you will come back.
The officer has to look at you and decide: Does this person have strong enough reasons to return?
If your cover letter doesn’t answer that, the risk of refusal is high.
Think of this as the part where you anchor yourself to your home country. Here’s how to write it properly.
Start With Family
Begin by writing clearly who you live with and what your role is. Don’t write “I have strong family ties”.
Write specifics. For example:
“I live with my parents and younger brother in [city]. I am financially responsible for the household and cover my brother’s education costs.”
This one sentence already shows dependency and responsibility. It tells the officer that other people rely on you.
Match it with documents. If you claim dependents, list them in the application form as well. If you support them financially, make sure your bank records reflect that.
Even if you can’t prove every detail with paper, the consistency between your cover letter and the form itself carries weight.
Tip: Never let there be a mismatch. If you mention family in your cover letter but don’t list them in the form, the officer assumes you are hiding something.
Add Proof of Residence and Stability
If you and your family live in a permanent residence, mention it. If your parents own the home, mention that they own and how long you’ve been living there.
If you rent, reference your rental agreement. Even if the property isn’t in your name, showing that you’re rooted in a place adds credibility.
Tip: If possible, attach a utility bill, rental contract, or property document. The officer doesn’t expect everyone to own property, but they do want to see permanence.
Highlight Responsibilities Beyond Family
Think beyond family. If you are married, mention your spouse and reference your marriage certificate. If you have children, mention their schooling and attach a record.
If you support elderly parents, explain it.
Every responsibility you list is another reason you have to come back.
Tip: The officer isn’t emotional, so don’t write dramatic appeals like “I love my family.” Stick to facts: dependents, obligations, and proof.
Connect Work to Your Home Ties
This is where family and professional life overlap.
If you run a business, write that your presence is required for daily operations, and reference the registration documents and tax filings.
If you’re employed, mention your leave dates and confirm that your job continues after the trip. That’s a strong home tie that your professional life is waiting for you.
Tip: If you have a leave approval letter from your employer, attach it. It shows the officer that your company expects you back. I recommend you get this sorted before applying, as a leave letter and HR approval is a must-have for almost ANY visa application if you’re an employee.
Show Community and Social Roots (Optional but Helpful)
If you are part of a community, club, or local organization, you can mention it briefly.
It isn’t as strong as family or work, but it adds another layer of proof that your life is built at home, not abroad.
Tip: Keep this short and only if it’s relevant. Don’t clutter the cover letter with weak details.
Keep the Language Clear and Factual
This part of the cover letter should read like a set of anchors tying you back home.
Avoid vague claims like “I am attached to my country” or “I have no reason to overstay.”
The officer doesn’t want your feelings; they want evidence. Write about dependents, responsibilities, property, work, and commitments. Then point to the documents that prove each one.
What to Avoid
- Don’t over-explain with emotional appeals. The officer is not swayed by feelings.
- Don’t list family members you can’t prove in the application form. Consistency is more important than volume.
- Don’t ignore this section. Even strong finances won’t cover for weak ties.
Quick Recap for Your Cover Letter:
- Write who you live with and what your role is.
- State your responsibilities (financial, educational, caregiving).
- Reference dependents in your application form.
- Add residence proof or property papers if available.
- Link your job or business commitments back to your home base.
When you write about your family and home ties this way, the officer doesn’t just read about them, but they see them as fact. That’s what convinces them you will return.
Your job is to mention everything you have that makes it concrete, you can’t stay in the UK even if you wanted to. Which you DO NOT if you’re applying as a tourist.
Step 5: Address Previous Refusals (If Any)
This is mentally the hardest part of a cover letter for most people, because it feels like admitting failure.
But here’s the truth: the officer already knows about your past refusal.
What they want to see is whether you’ve learned from it and corrected the problems.
If you handle this part directly and properly, a refusal doesn’t damage you.
In fact, it can make your new application stronger. You should be honest, admit the mistakes you made and in the new application, make those positive changes happen.
Show them you learn and grow from your mistakes.
Be Upfront, No Hiding
The first rule is: don’t pretend it never happened. If you were refused, write it clearly in one sentence. Don’t soften it, don’t circle around it.
For example:
“My previous application for a UK Standard Visitor Visa, submitted in December 2024, was refused.”
One line, plain language. That’s all you need to acknowledge it.
State the Reason, Exactly As It Was
The officer already has your refusal letter. If you try to reframe it, downplay it, or make excuses, you’ll look dishonest.
Instead, repeat the reason as it was given. Keep it short and factual.
For example:
“The refusal was based on missing business bank account statements and incorrect income details.”
This shows you’re not defensive. You’re simply confirming the facts and not weaving any story around them.
Show the Correction Immediately
The next sentence should show how you fixed the exact problem.
For example:
“In this application, I have included complete business current account statements, corrected my income details, and attached tax filings for clarity.”
Now the officer sees the problem, the correction, and the evidence, all in two lines.
Don’t Argue, Don’t Apologize
Never write stuff like “I felt the refusal was unfair” or “I believe there was a misunderstanding.”
Just don’t.
It makes you look weak. The officer genuinely does not care how you feel about it. They care if you’ve fixed the problem.
And stop apologizing all over the place. A refusal doesn’t mean you messed up or lied; it just means you didn’t give them enough proof last time.
When you get all apologetic and emotional, you’re basically begging. And begging doesn’t work.
What works is showing up with the facts and saying, “Here’s what you needed, here it is.”
Keep it neutral. Keep it confident. You’re not asking for forgiveness. You’re just presenting what they asked for. You’re also not begging, keep that in mind.
Put It All Together — Example Paragraph
Here’s how your refusal section should read in full:
“My previous application, submitted in December 2024, was refused due to missing business account statements and incorrect income details. For this application, I have included complete business account statements, corrected my income figures, and attached tax filings to provide full clarity. I trust this resolves the concerns raised in the earlier decision.”
That’s three sentences. Direct, respectful, and backed by documents. This is the exact copy from my second and successful application.
Tips to Strengthen This Section
- Keep it short — one small paragraph. Long explanations weaken your position.
- Stick to facts only — don’t argue, don’t speculate, don’t blame.
- End with confidence — let the officer see that you’ve fixed the problem and moved forward.
- Point to proof — make sure the documents you reference are actually attached.
If you do this properly, the refusal becomes less of a problem and more of an advantage.
You’re showing that you understand the process, you took the feedback seriously, and you’ve corrected everything. That’s exactly what the officer wants to see.
Step 6: Close With a Clear Assurance
This is where you leave the officer with no doubt about your return and your respect for the visa rules.
Get it right, and it reinforces everything else you’ve written. Get it wrong, and it makes the whole letter feel weak.
Here’s how to do it:
First, bring it back to your itinerary.
Write the exact date you are returning, the same one you’ve already mentioned earlier.
If your itinerary says “26 April 2025,” then your closing should say “26 April 2025.”
That one line confirms you’re not leaving your trip open-ended.
Second, show that you understand the rules of the visa and that you will follow them.
Keep it clean and factual.
A line like: “I will comply with the conditions of the UK Standard Visitor Visa.”
That’s all that’s needed. It tells the officer that you’re aware of the restrictions and respect them.
Third, end with a short thank you. Don’t turn it into a paragraph.
Don’t write exaggerated gratitude.
One line is enough: “Thank you for considering my application.”
Now, let’s talk about the mistakes to avoid here. Don’t plead. Don’t write “I beg you to approve my visa.”
That makes you sound desperate. Don’t add new details. The officer has already read your trip, finances, work, and ties. The closing isn’t where you bring in property papers or more numbers.
And don’t use emotional appeals like “It has always been my dream to see London.” The officer isn’t moved by emotion. They’re moved by clarity and proof.
Before you send your letter, double-check this section against your itinerary and your flight ticket.
Here’s how your closing should look in the end:
“I will follow the itinerary provided and return to India on 26 April 2025. I will comply with the conditions of the UK Standard Visitor Visa. Thank you for considering my application.”
Follow everything I’ve written above, and I hope this will lead you to a successful UK visa application. Just like I got mine.
If you have anyquestions or suggestions, please leave a comment below and I’ll be happy to help. If this guide helped you, please share this with your friends and leave a comment below – I would love to hear your UKvisa story!
I also have a detailed, super detailed guide on how to apply for UK Visa as a self employed citizen. DO read it if you’re applying for the first time or got rejected before.
If you want the exact copy of my ready-touse UK cover letter, DM on Instagram here.

Leave a Reply